Inspiration: DIY Cupcake Topper Ideas

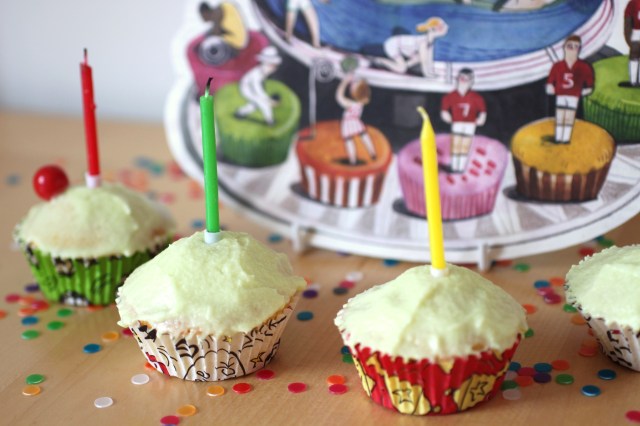
As it’s my birthday tomorrow (and I’ve got cake on the brain), I thought I would celebrate on the blog by sharing some of my favourite DIY cupcake toppers! From pin-wheels to pom-poms to clowns, these four toppers are bound to make your recipient smile, and you get to eat yummy cupcakes too!

Shelley Makes DIY Cupcake Topper Ideas

For full DIY tutorials, check out these blogs:

1. Better Homes & Gardens, Upcycled Book-Page Pinwheel Cupcake Topper | 2. 6 Bittersweets, DIP Pom Pom Cupcake Topper | 3. Studio DIY, DIY Balloon Cupcake Toppers | 4. Oh Happy Day, DIY Clown Cupcake Topper

Continue reading

DIY Mouse-Hole Cheese Card

Yesterday was my Grandma’s 78th birthday, and so we gathered for a family meal. For my partner’s grandparent’s, handmade gifts have always meant more than expensive presents.

Back in March, at the The Edible Garden Show, I spied a tiny wooden mouse by Bradgate Woodcraft that I thought she’d love, and I’ve been looking after the little fellow ever since.

Cheese cardAs time was tight (plan ahead, moi?), we decided to make a simple ‘cheese’ birthday card, complete with mouse-hole, so that the little mouse could sit underneath the card.

To make, all you need is some card, a circle cutter, and ideally a mouse. I didn’t plan my circles, I just cut them willy-nilly, and this is the result. It took around 10 minutes, so easy peasy!

Mouse

The eagle-eyed amongst you may notice that not all of my circles are strictly spherical. This is because, like an amateur, I broke my circle cutter part-way through. New blades, please!

Though very simple, I’ve no doubt this will be on the dresser for a few months to come. I like the fact that the present and card theme marry up, and it’s something a little different.

I popped this in one of my upcycled envelopes. What do you think?

DIY Irish Dancing Finger Puppet Card™

‘Back in the day’, my sister and I grew up watching Riverdance and Lord of the Dance on VHS, and doing our own interpretation of Irish dancing around the living room. It was energetic, I tell you.

Dancing Finger Puppet Card

To celebrate my sister’s birthday, I jumped at the chance to book us tickets to see Michael Flatley perform in his last ever West End performance: Lord of the Dance: Dangerous Games.

Dancing Card

Though I was sure my sister would love the surprise, I wanted to think of a fun way to reveal it to her. After some deliberation, I settled on the Michael Flatley “Irish Dancing” Finger Puppet Card™.

Dancing Card

For those who don’t know, Michael Flatley is a bit of a ledge, having starred in and choreographed a number of internationally renowned Irish dance shows across the globe.

Michael Flatley Card

To create the ‘dancing’ card, I found an image of Michael dancing online, and printed it out on card. I then cut out two finger-sized holes where his legs started (using a circle template and scalpel).

Dancing card

To neaten it up, I went round the edges with black pen. Once done, you can then start effortlessly manipulating Michael’s ‘legs’ with your fingers to make him dance and leap around!

Dancing card

Although this card is all about dancing, you could easily create something similar to reveal football tickets, or ballet tickets – using an image of a football team or ballet performance to equal effect.

Happy finger puppeting, and Happy Birthday Kayleigh!

Sporty Birthday Cake Stand

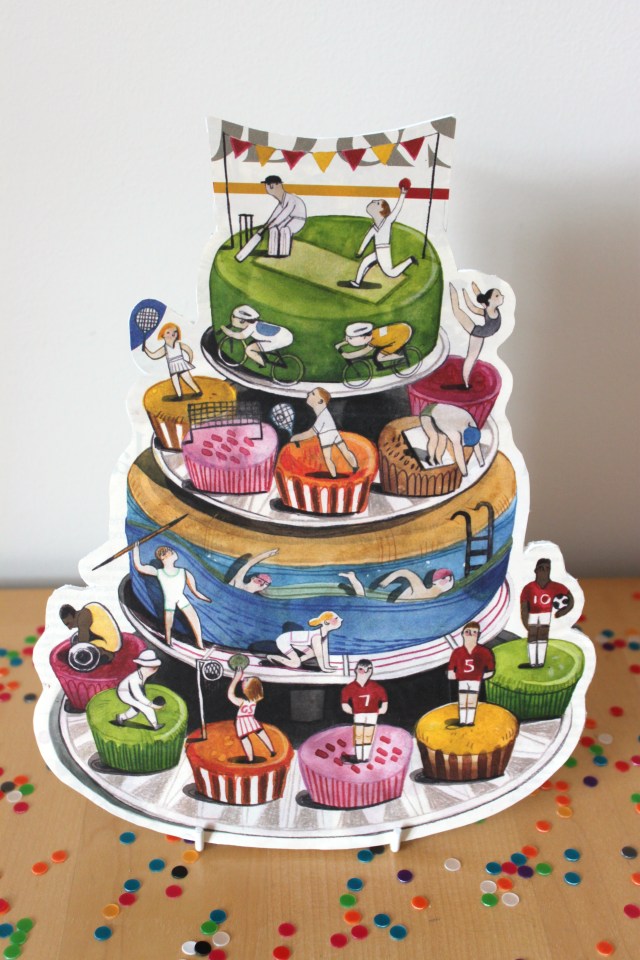
My step dad is a sports enthusiast, so ahead of his birthday, I was pleased to find a fitting illustration on the cover of Waitrose Weekend – a huge tiered cake celebrating a year of sport and food!

Birthday Cake Stand

As well as being a sports fiend, Bob is also a cake fanatic, so the picture sums him up perfectly! I decided to create a foam board birthday cake ‘card’ using the super-sized illustration.

Cakes

I propped my foam board picture up using a plate stand, however you could also turn it into a jumbo fridge magnet (for laughs), or a giant badge, so you know who the birthday bod is!

This makes a great table centrepiece with cupcakes all around it, mirroring the cupcakes in the illustration. I also made a giant paper envelope so it could be opened like a traditional card.

Envelope

It’s effective yet simple, AND you get to eat cake! Happy Birthday, Bob!

Make a Teacup Birthday Card!

June marks the birthdays of two of my bestest buds, so it’s card-making season! For my friend Tal, who is a tea fiend, I decided to make a tea-cup birthday card, inspired by this DIY on Spoonful.

Tea Cup Card

You will need:

  • A4 card
  • Patterned paper / wrapping paper of your choice
  • Scissors / craft knife
  • Twinings tea envelope
  • String (I used some from an actual tea-bag)
  • Staple (just one!)

Tea Cup

Instructions:

Start by folding a piece of card in half, and drawing a tea cup shape on the card, making sure that the handle is at the fold. Cut out the cup shape, but make sure that you leave the fold at the handle uncut, so you have a hinge. If you’re uncomfortable free-handing the cup shape, here’s a template.

Pocket

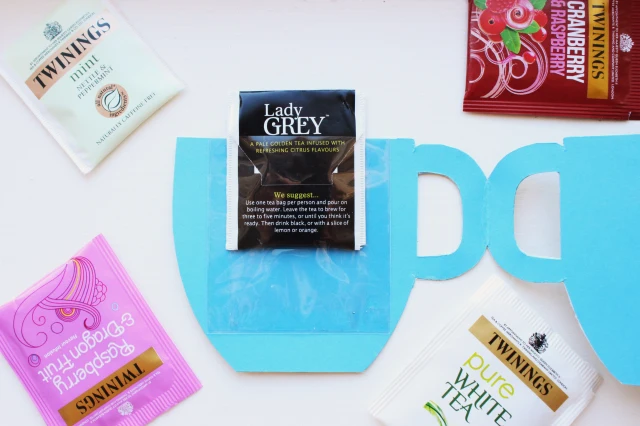
If you want a pattern on the cup, glue the open card to some coloured gift wrap and cut around the edges with a pair of scissors or craft knife. To create the pocket on the inside for the tea-bag, I used a mini cellophane bag and trimmed it down, using double-sided tape to secure it to the inside of the card, leaving the top open. You can then poke your tea-bag of choice into its compartment!

It looks effective to dangle a tea tag from the front of the card, as though tea is being brewed, and you can personalise this how you wish. For me, it has to be Twinings, so I changed the tag ‘Lady Grey’ to ‘Lady Lim’ (my friend’s surname) in InkScape. You can use any picture editing software to do this, or you can just pen a message like ‘Happy Birthday’ with a pen – whatever you fancy!

TeaCup

This was really easy to make, but also felt suitably personalised. Let me know what you think!